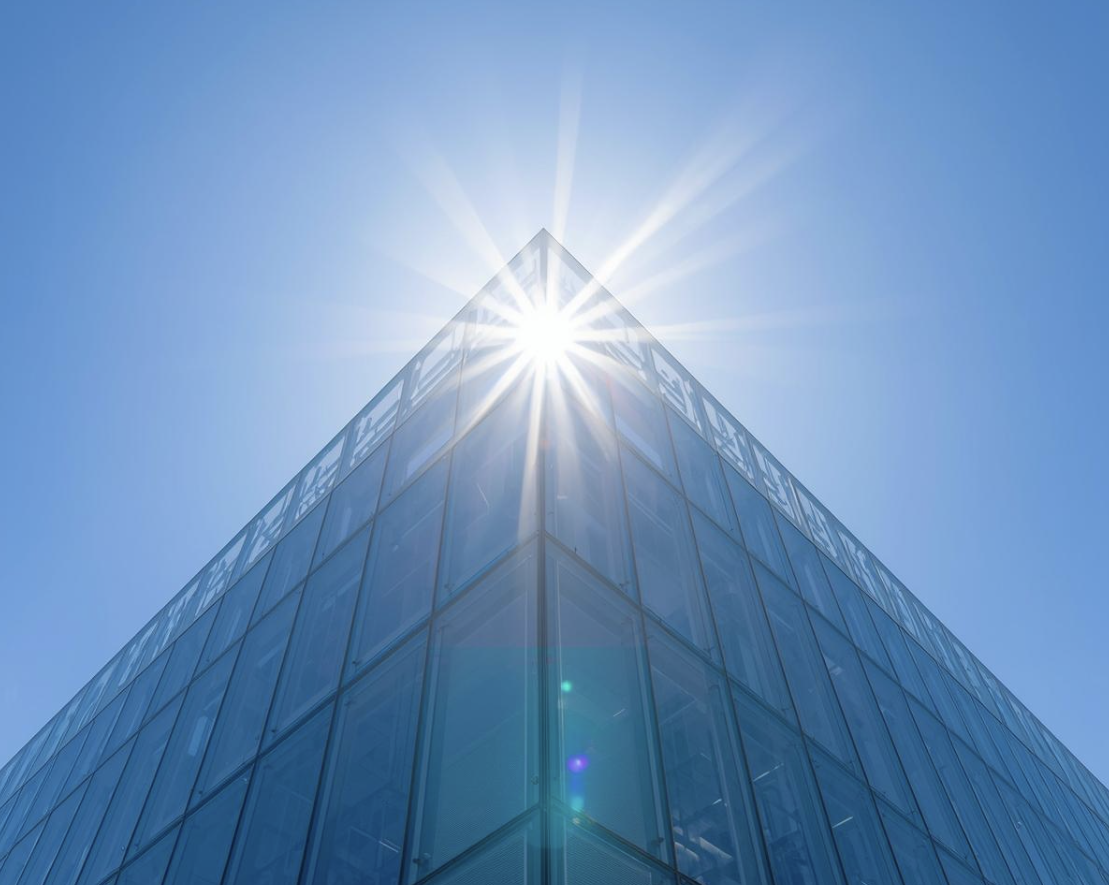
Comprehensive Guide on How to Install Solar Panels
Have you ever wondered how to install solar panels? Well, whether you're considering a DIY approach or seeking professional assistance, the residential solar panel installation experts from Sunsent Solar are here to guide you through the process to ensure optimal performance and cost savings.
When to Install Solar Panels
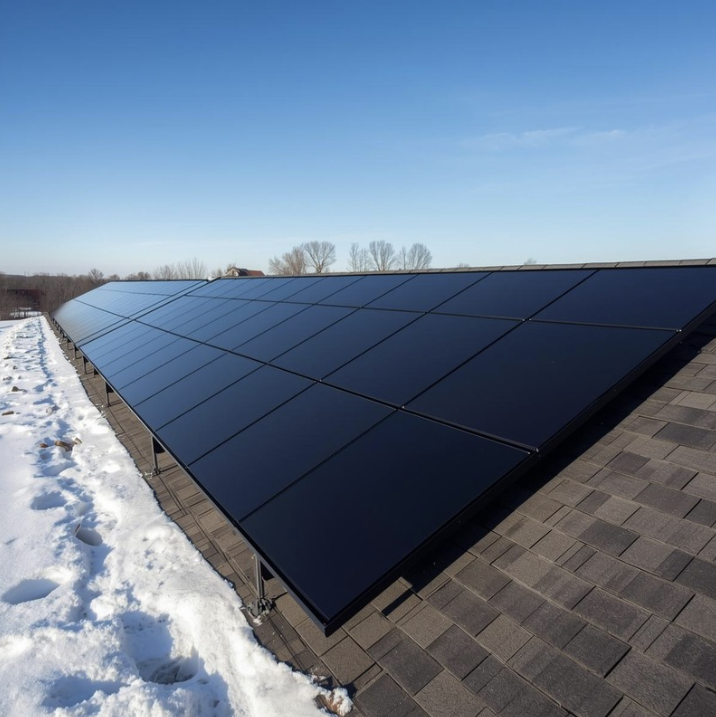
Choosing the right time for solar panel installation is crucial due to the complexity of the installation process and for safety reasons. Favorable weather conditions, such as dry and calm days, are ideal for safe and efficient installation. Avoid installing solar panels during extreme weather like winter and summer storms to ensure a safe, smooth, and efficient process.
8 Steps for Installing Solar Panels
Solar panel installation involves careful planning and execution. However, you can follow these steps for a successful installation:
1. Planning
· Evaluating Energy Needs: Analyze your electricity consumption to determine the appropriate system size for your needs.
· Determining Compatibility: Assess your property's suitability for solar panels, considering your roof condition, its sun exposure, and the space you have available.
· Obtaining the Proper Permits: Securing the necessary building and electrical permits to comply with local regulations is essential for a successful solar installation project.
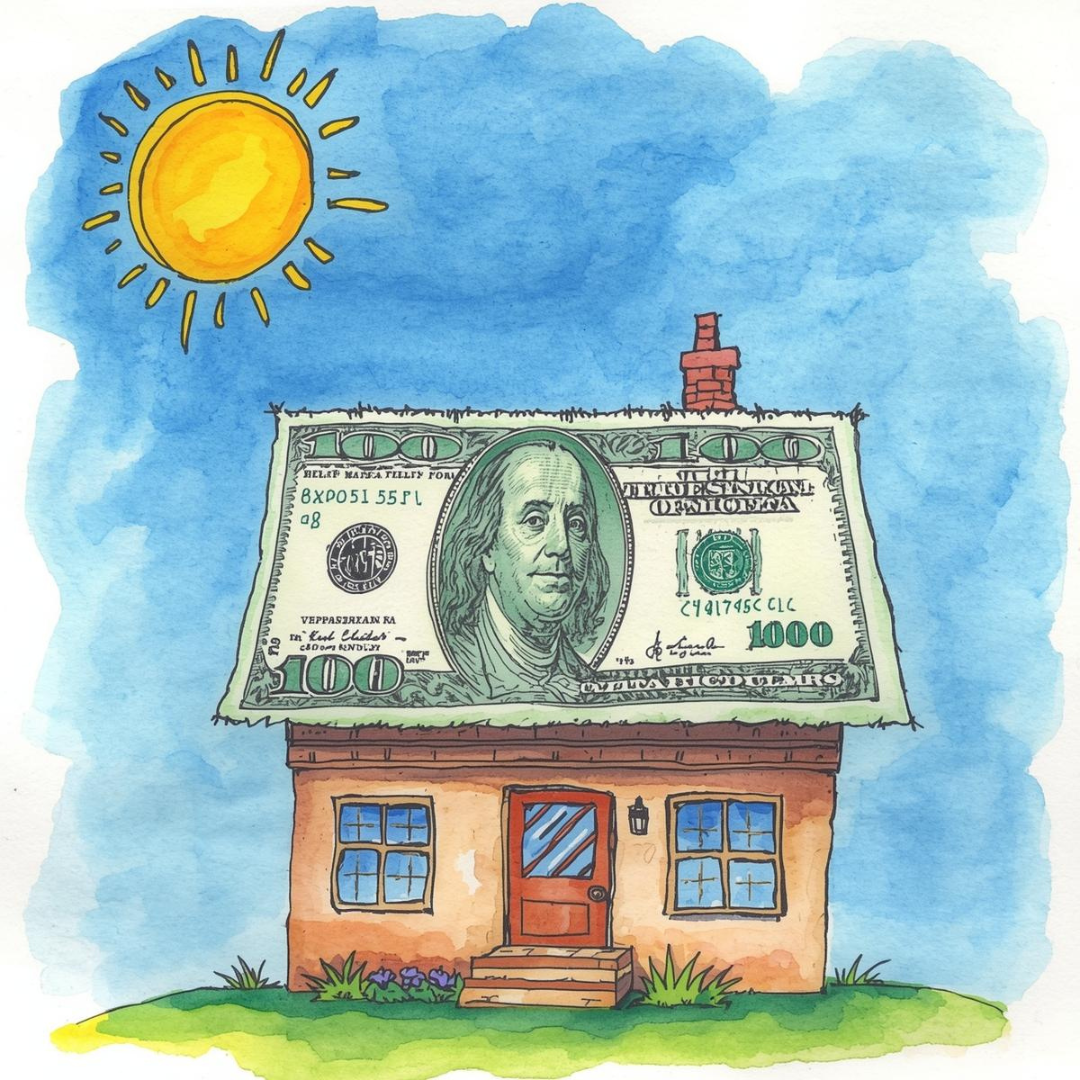
· Research the Available Incentives: Exploring all of the available solar incentives and rebates can help you easily maximize your savings and return on investment.
2. Safe Solar Installation Preparation
Ensure you or your solar installation specialists have the proper safety gear like roof harnessing, gloves, anchors, and eye protection. If you’re taking the DIY approach, consulting with an electrician to assess your home's electrical wiring and safety measures is always recommended.
3. Laying Out the Materials
Before you begin working on the installation process, gather all the necessary equipment such as the panels, the proper inverters, batteries, mounting hardware, and wiring components.
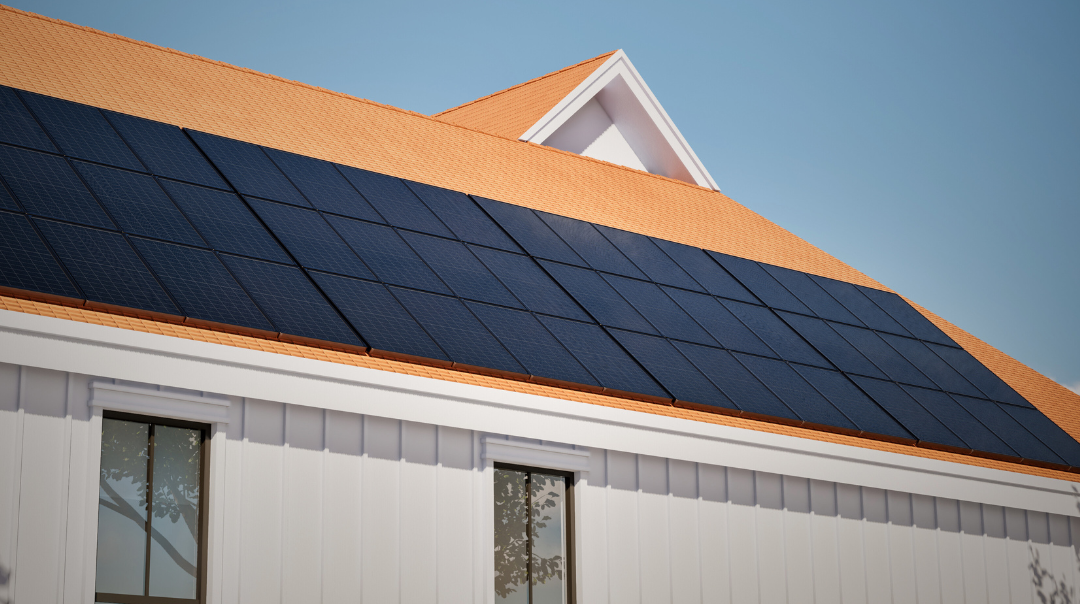
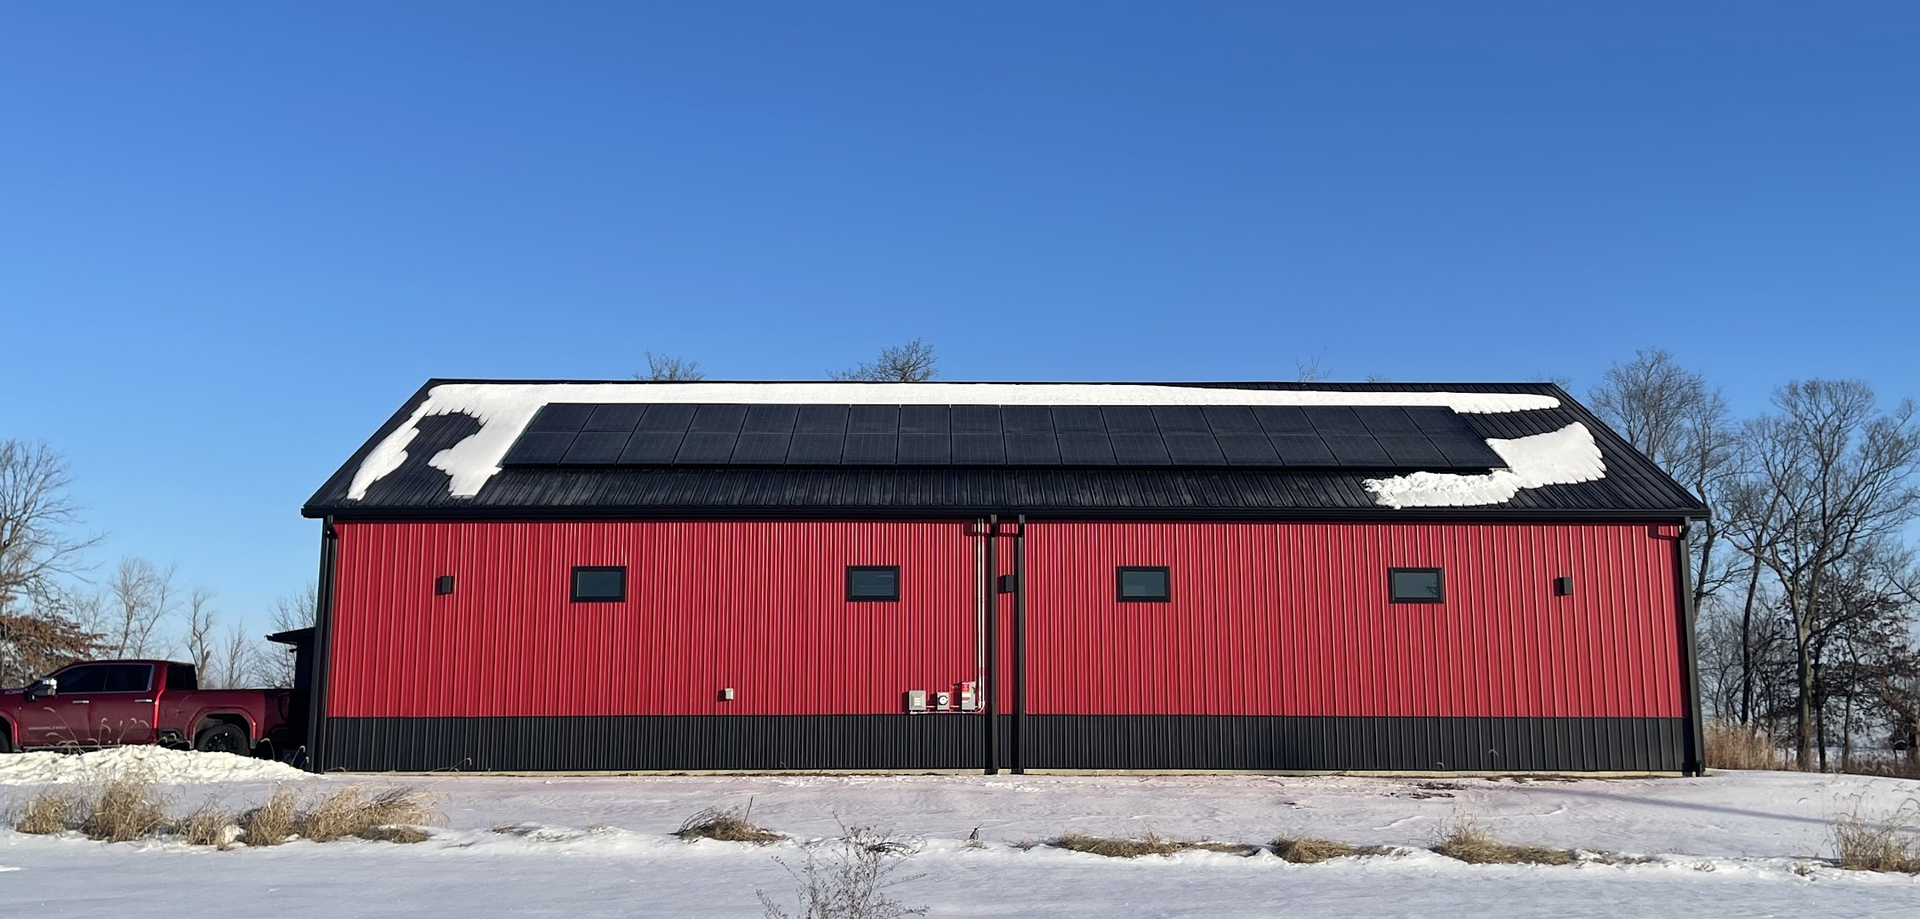
4. Installing the Racking System
Mount the racking system on your roof according to manufacturer instructions, ensuring it’s securely attached and weatherproofed.
5. Connecting the Panels
Install your solar panels to the racking system using the clamps provided by the solar panel manufacturer. Be sure to wire them together specifically as per the instructions that came with them.
6. Adding Additional Components
Depending on your needs, now is the stage where you can install a heat sink if you choose, as well as a charge controller, solar battery, and power converter. Again, always adhere strictly to the manufacturer’s guidelines when adding components.
7. Installing the Electrical Wiring & Having it Inspected
Before turning on your newly installed solar panel system, double-check its wiring connections, ground your system, and schedule a city inspection to ensure it’s safe and compliant.
8. Connecting to the Electrical Panel
The final step is connecting your solar panel system to the power inverter on your electrical panel and coordinate grid.
DIY vs. Professional Solar Panel Installation
Although DIY installation may seem appealing, hiring professionals offers a variety of benefits including:
· Safety: Professionals ensure safe installation practices, reducing the risk of accidents.
· Equipment & Expertise: A reliable solar panel installation company possesses the specialized tools and expertise necessary to perform efficient installations.
· Warranty & Value: Professional installations come with warranties, and always enhance property value and ensure compliance with incentives.
Choose Sunsent Solar for Solar Panel Installation today!
To hire one of today’s leading residential solar panel installation contractors in Illinois and Missouri, contact us online today for a quote.